Boost Your Wi‑Fi Signal with a DIY Aluminum Foil Parabolic Reflector
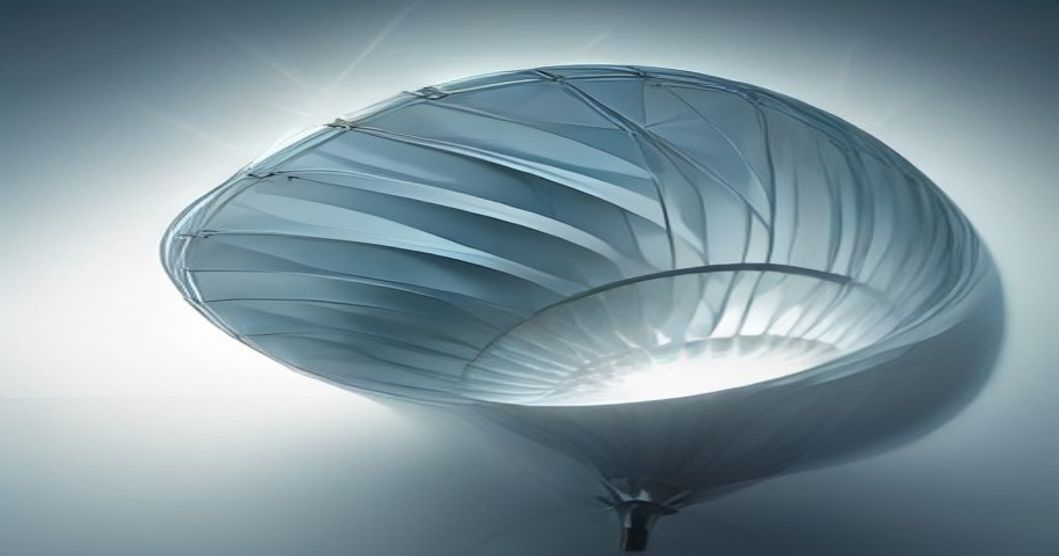
I still remember the night my video call kept dropping just as I was about to close a deal. My apartment’s hallway was a dead zone, and the router sat smugly in the living room, oblivious to my panic. I grabbed a soda can, a roll of foil, and a reckless optimism that only a DIY‑enthusiast can claim. The result? A makeshift parabolic dish that actually nudged the signal a few extra feet forward. If you’re tired of buffering and want a cheap hack you can actually build on a lazy Sunday, keep reading.
Why I Tried the Foil Reflector
When my internet provider offered a pricey mesh system, I rolled my eyes. The monthly bill was already high, and I didn’t want to add another gadget to the pile of cords on my desk. A quick Google search yielded a handful of forum threads about aluminum‑foil reflectors, but most of them were vague, missing the hands‑on details I needed. I decided to test the theory myself, documenting every stumble, success, and the occasional "what‑did‑I‑just‑do?" moment. The experiment turned into a surprisingly reliable way to push the Wi‑Fi beam into the corners that used to be signal‑less.
What You’ll Need
Before you start tearing open the pantry for supplies, gather these items:
- A standard 12‑oz soda can (or any clean aluminum can) – this will become the dish.
- Heavy‑weight kitchen aluminum foil – the smoother, the better.
- A utility knife or sharp scissors.
- Duct tape or a hot glue gun.
- A small piece of cardboard or sturdy paper to act as a backing plate.
- A rubber band (optional, for extra stability).
- A marker for tracing.
Having everything within arm’s reach saves you from the dreaded "just one more item" trip to the kitchen. Trust me, you’ll thank yourself when the dish is half‑assembled and you’re already mid‑step.
Step‑by‑Step Build Guide
Below is the exact workflow that got my router to throw a signal over the hallway wall. Follow the numbers; skip the shortcuts.
- Prep the Can – Empty the soda can, rinse it, and let it dry completely. Using a can with a smooth interior makes it easier to flatten later.
- Cut the Bottom – With the utility knife, slice off the flat bottom about a half‑inch from the edge. This leaves a neat rim that you’ll later fold into a shallow dish.
- Flatten the Cylinder – Carefully slice the can lengthwise from the open top to the cut‑off bottom. Gently pull the two halves apart; they should unfold into a single sheet of aluminum about 6‑8 inches wide.
- Form the Parabola – Take a piece of cardboard that matches the width of the foil sheet. Place the foil over the cardboard and, using the marker, draw a shallow curve that mimics a satellite dish – think of the shape of a shallow smile.
- Apply the Foil – Fold the foil along the drawn curve, securing the edges with duct tape or hot‑glue. Make sure the concave side faces the router; this side will reflect the Wi‑Fi waves.
- Secure the Backing Plate – Tape the cardboard backing to the inside of the foil dish. This reinforces the structure so it doesn’t collapse when you move it.
- Mount the Reflector – Position the dish about 2‑3 inches away from the router’s antenna, aiming the dish toward the dead zone. Use a rubber band or extra tape to hold it in place.
- Test the Connection – Open a speed‑test app on your phone, stand in the previously dead zone, and note the results. Adjust the angle a few degrees up or down until you see a measurable improvement.
If the connection feels flaky, try tweaking the dish’s curvature or moving it a fraction closer to the router. The sweet spot is often a matter of trial and error, but the process is quick once you have the basics down.
Tip: For a more durable reflector, consider spraying the foil with a clear acrylic sealant. It adds a thin protective layer that won’t interfere with the signal but will keep the dish from tearing after a few weeks of handling.
Testing & Tweaking
After the first run, I measured a jump from 5 Mbps to 18 Mbps in the hallway, which was enough to stream a 720p video without stutter. That felt like a small miracle, especially given the $0.75 cost of the can. If you’re not seeing similar gains, double‑check these common hiccups:
- Orientation: The dish must face the router, not the wall.
- Distance: Placing the reflector too far from the antenna weakens the reflected signal.
- Obstructions: Metallic objects between the router and reflector can cause unwanted scattering.
When you finally hit that sweet spot, you’ll notice a steadier connection, fewer drops, and the satisfaction of having built your own signal booster.
FAQ
Q: Will this work with 5 GHz Wi‑Fi? A: The principle is the same, but 5 GHz signals have a shorter wavelength, so the reflector needs a tighter curve. You can experiment by increasing the dish’s depth slightly.
Q: Can I use a different metal, like a soda‑bottle instead of foil? A: Absolutely. Aluminum is ideal because it’s lightweight and reflects radio waves well, but any conductive metal—copper, steel, even a tin can—will do. Just be aware that thicker metals may be harder to shape.
Q: How long will the reflector last? A: If you keep it away from moisture and avoid sharp bends, the foil can hold up for months. Adding the clear sealant I mentioned earlier can stretch its lifespan.
Final Thoughts
I still laugh when I think about the night I taped a soda can to my router and got a streaming movie to play without buffering. It’s a reminder that a little curiosity and a bit of kitchen scrap can solve a tech annoyance that costs a lot more if you go the conventional route. Give it a try, adjust the angle, and enjoy a stronger signal in those tricky spots.
If you end up with a better Wi‑Fi experience, feel free to drop a comment sharing your results. I love hearing how a simple hack works in different apartments, houses, or dorms. Happy building, and may the Wi‑Fi be ever in your favor!
By the ReadyTips Team
We research, test, and write practical guides so you don't have to figure things out the hard way. Every article is reviewed by hand before publishing.


