Say Goodbye to Stubborn Milk Crust: A Gentle Way to Clean Stainless Steel Pots
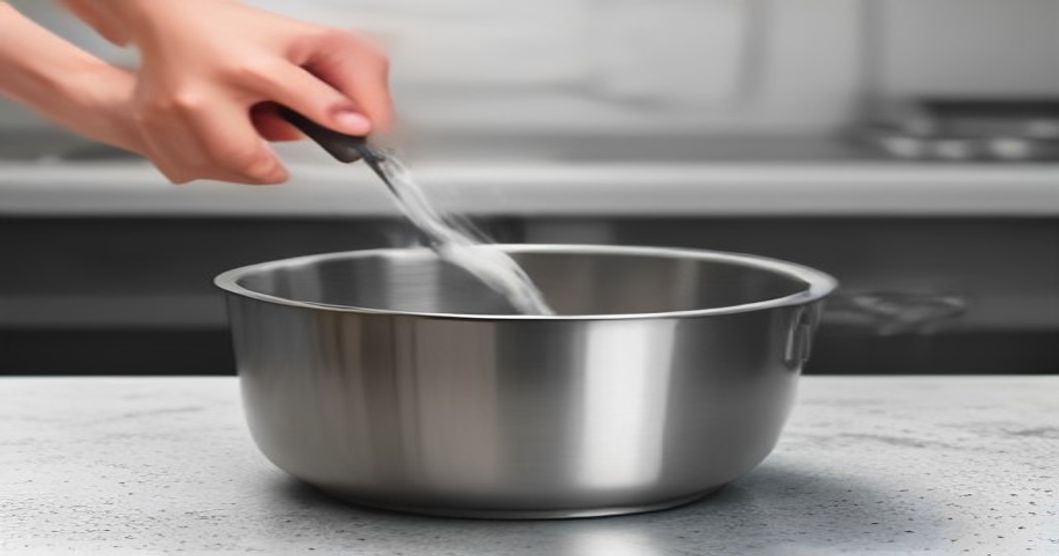
I still remember the panic that hit me last winter when I opened the pot after making a batch of creamy hot chocolate for a family movie night. A thick, caramel‑brown crust clung to the bottom like a stubborn scar, and I could already hear the faint clank of my stainless steel spoon protesting any aggressive scrape. I stared at the pot, wondering if it was a lost cause, until I decided to treat the situation the way I treat most kitchen mishaps: with curiosity, a pinch of patience, and a few pantry staples.
The Unwanted Milk Crust Mystery
Milk has a way of turning into a tenacious film when it overheats. The proteins coagulate, sugars caramelize, and the result is a layer that seems to bond chemically with the metal. Unlike a simple food spill, burnt milk crust doesn’t dissolve with a quick rinse; it needs a gentle chemical nudge and a bit of time. That’s why a heavy‑handed scrub often ends up scratching the stainless surface, leaving you with a pot that looks worse than before.
What You’ll Need (All Shelf‑Stable)
- White vinegar – the mild acid that loosens the crust without etching the steel.
- Baking soda – a gentle abrasive that lifts residue when paired with liquid.
- Water – preferably warm, to dissolve any remaining sugars.
- A soft nylon scrubber or silicone pad – nothing abrasive enough to scar the pot.
- A wooden spoon – perfect for gently prying without metal contact.
I keep these items in a drawer next to my cutting board, so they’re always within arm’s reach. No fancy gadgets, just the basics you probably already own.
Step‑by‑Step Rescue
- Cool the pot, then add liquid – Fill the pot with enough warm water to cover the crust. I like to let the water sit for a minute; the heat helps the crust soften.
- Introduce vinegar – Add one cup of white vinegar to the water. The mild acidity starts breaking down the caramelized sugars.
- Simmer gently – Place the pot back on low heat and let the mixture bubble for 5‑7 minutes. You’ll notice a faint, sweet‑sour aroma – that’s the crust giving up.
- Turn off the heat and add baking soda – Carefully sprinkle two tablespoons of baking soda into the pot. It will fizz, creating a gentle micro‑scrub action.
- Let it sit – Allow the fizzy mixture to rest for another 10 minutes. During this time, the crust softens dramatically.
- Scrape with a wooden spoon – Use the spoon to lift the loosened crust. It should peel away in chunks rather than scraping like sandpaper.
- Give a final wipe – Take the soft nylon scrubber, dip it in the remaining liquid, and give the interior a quick circular motion. Any lingering specks disappear.
- Rinse and dry – Pour out the solution, rinse thoroughly with warm water, and dry with a clean towel to prevent water spots.
Tip: If the crust is especially thick, repeat steps 3‑5 once more. The extra cycle rarely takes more than 10 minutes and saves you from any manual scrubbing.
Keeping Future Crust at Bay
After I rescued that pot, I made a habit of adding a splash of milk‑friendly oil (like a teaspoon of butter) before heating dairy. It creates a thin barrier that reduces direct contact with the metal. Additionally, I now keep the burner on medium‑low when simmering milk; the slower heat gives the proteins a chance to stay suspended rather than settle and burn.
Another trick that works wonders is to pre‑soak any pot that sees a lot of milk. A quick soak in a mixture of equal parts water and vinegar for 15 minutes before the next use makes the next cleaning session virtually painless.
Frequently Asked Questions
Q: Can I use lemon juice instead of vinegar? A: Absolutely. Lemon juice provides a similar acidity level. Just use the same volume as you would vinegar, and you’ll get comparable results.
Q: Is it safe to use stainless steel wool? A: I wouldn’t recommend it. Even the ‘soft’ stainless steel pads can leave microscopic scratches that become visible over time. Stick to nylon or silicone tools.
Q: What if the pot is aluminum or non‑stick coated? A: The vinegar‑baking soda combo works on most surfaces, but for non‑stick, limit the simmer time to 3‑4 minutes and skip the abrasive scrubber. A soft sponge will do the trick.
A Warm Closing
Cleaning a burnt milk crust doesn’t have to feel like a chore you dread every time you make a latte or sauce. With a little chemistry and a dash of patience, your stainless steel pot can bounce back to its shiny, stainless glory—ready for the next culinary adventure. Next time you hear that familiar “pop” of milk hitting the bottom of the pot, remember there’s a gentle fix waiting in your cabinet.
I hope this method saves you a few minutes of frustration and a lot of extra scrubbing. If you try it, let me know how it went—maybe over a virtual cup of coffee? Happy cooking, and may your pots stay spotless!
By the ReadyTips Team
We research, test, and write practical guides so you don't have to figure things out the hard way. Every article is reviewed by hand before publishing.