7 Quick Ways to Clean Your DSLR Sensor at Home Without Expensive Tools
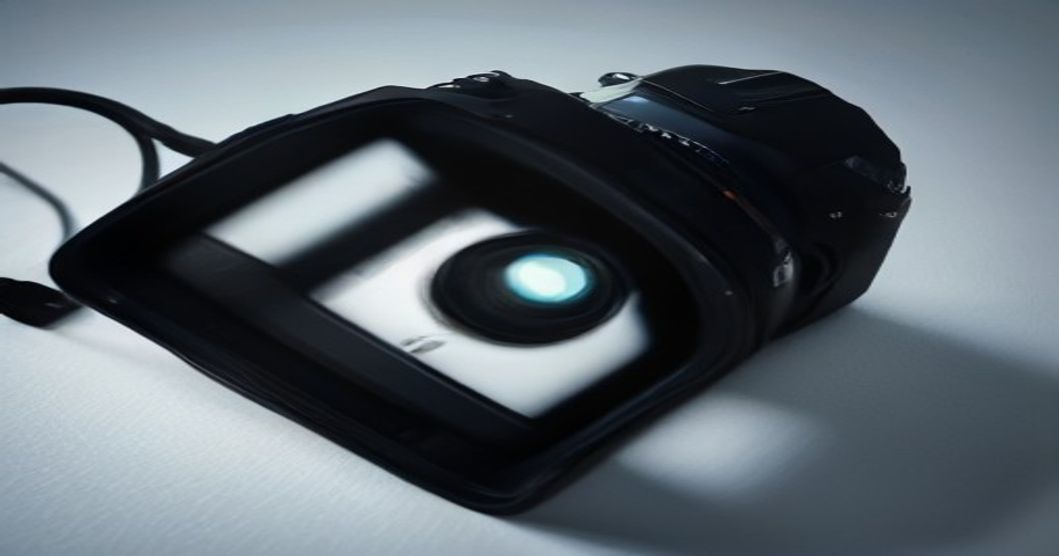
I still remember the panic that hit me during a summer wedding shoot in Austin. I had just captured the groom’s tear‑filled vow, and when I reviewed the RAW on my laptop, a speck of dust floated across the frame like a tiny, unwanted guest. My heart sank. I’d spent weeks prepping, but the culprit was something I hadn’t thought to check: the sensor.
The Moment I Realized My Sensor Needed Love
After a frantic search for “cheap sensor cleaning,” I stumbled onto a forum where a veteran photographer swore by a few household tricks. I was skeptical at first—how could a coffee‑filter or a manual air blower replace a $150 sensor cleaning kit? Yet the next day I tried the simplest method, and the results were startlingly clean. That’s the story behind the seven tricks I’m about to share, each tested on my Canon 80D and Nikon D750.
7 Quick Ways to Clean Your DSLR Sensor at Home Without Expensive Tools
-
Use a Hand‑Held Air Blower A manual air blower (the kind photographers use for lenses) is cheap, reusable, and surprisingly effective. Hold the camera upside‑down, press the shutter button to lock the mirror, then give a few short bursts over the sensor. The puff of air lifts loose dust without any contact.
-
Employ a Rocket‑Blown Sensor Brush A soft, anti‑static brush designed for sensor cleaning can be purchased for under $10. Gently sweep the brush across the sensor surface in one smooth motion. I’ve found that doing this after a blower pass catches the particles that the air missed.
-
Try a Sticky Sensor Swab (DIY Version) You can make a low‑cost swab by cutting a clean microfiber cloth into a tiny square (about 1 cm) and lightly dampening it with a couple of drops of sensor‑safe cleaning fluid (or 99% isopropyl alcohol diluted 1:1). Gently glide the swab across the sensor in a single direction, then repeat with a fresh spot of cloth. The key is to avoid rubbing back and forth—just a single, gentle pass.
-
Use a Clean, Lint‑Free Lens Towel Some photographers keep a pack of lens cleaning towels in their bag for emergencies. The same principle works on the sensor: fold the towel to a tiny tip, lightly moisten it with the same diluted alcohol solution, and swipe once. It’s a quick fix when you’re on location with no proper swabs.
-
The “Coffee Filter” Method Believe it or not, an ultra‑fine coffee filter can act as a makeshift sensor wipe. Tear a tiny piece, ensure it’s completely dry, and gently press it onto the sensor surface. The fibers are soft enough not to scratch, and they’ll lift stubborn specks.
-
Vacuum the Mirror Box (Not the Sensor Directly) With the mirror locked up, use a small, hand‑held vacuum with a HEPA filter and a narrow nozzle. Keep the nozzle a few centimeters away and let the suction pull dust out of the mirror box. This reduces the amount of debris that can settle on the sensor later.
-
Let Gravity Do the Work Sometimes the simplest solution is to leave the camera body open in a clean, dust‑free room for a few hours. Position the camera upside‑down on a clean surface; any loose particles will fall away naturally. I’ve done this after a long shoot and noticed a dramatic reduction in dust spots.
Pro Tip: Always work in a low‑humidity environment and avoid direct airflow from fans or hairdryers. A gentle, controlled puff is safer than a strong gust that could push dust deeper into the camera.
Frequently Asked Questions
Q1: Will using alcohol damage my sensor? A: As long as you dilute it to a 50/50 mix with distilled water and use only a tiny amount on a microfiber tip, the risk is negligible. Never pour liquid directly onto the sensor.
Q2: How often should I clean the sensor? A: I clean after any shoot where I notice spots in test images, or roughly once every three months for heavy‑use gear. Over‑cleaning can wear the coating, so limit full‑contact methods to when they’re truly needed.
Q3: Can I use canned air instead of a blower? A: I strongly advise against canned air. The propellant can leave residue or freeze the sensor. A manual blower is the safest, reusable alternative.
A Warm Closing
Cleaning a sensor feels a bit like giving your camera a spa day—awkward at first, but oddly satisfying once you see the crystal‑clear results. I hope these seven tricks save you both money and the dreaded post‑shoot panic. Next time you spot a speck in your image, remember: you probably already have everything you need right in your bag. Happy shooting, and may your frames stay spotless!
By the ReadyTips Team
We research, test, and write practical guides so you don't have to figure things out the hard way. Every article is reviewed by hand before publishing.