Step‑by‑Step: Remove Water Rings from Wooden Tabletops Without Re‑Finishing
A Tiny Disaster That Turned Into a Handy Lesson
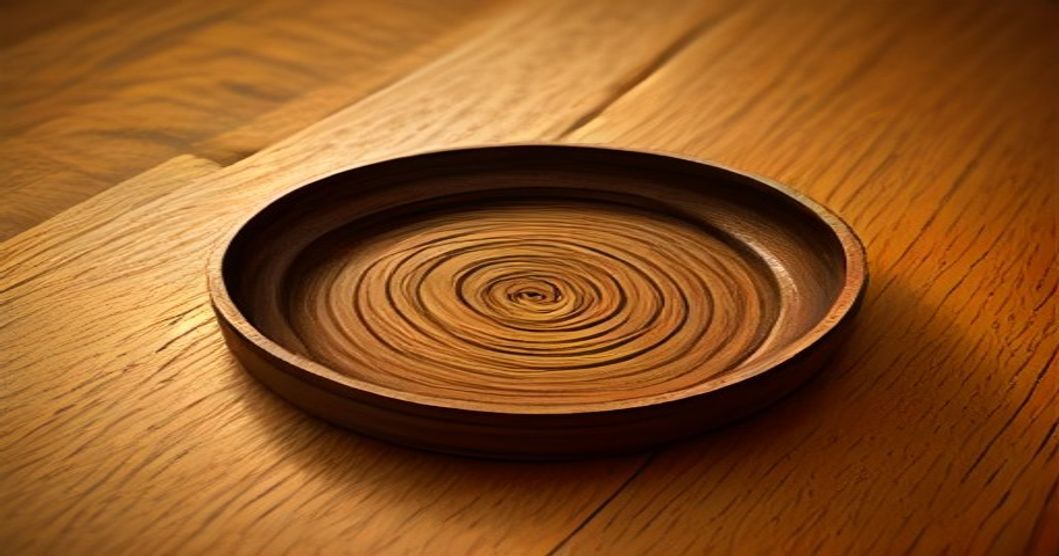
I still remember the exact moment my coffee‑loving coworker, Maya, nudged her steaming mug a few inches too far on my newly bought walnut dining table. The white ring that appeared looked like a tiny scar on the wood’s smooth surface. My first instinct was panic—this was a piece I’d saved up for months, and now it looked like it had been through a mini flood.
Instead of scrambling for a professional refinisher, I decided to treat the problem like any other household glitch: with curiosity, a dash of stubbornness, and a few kitchen staples. The result? A spotless tabletop and a new go‑to trick I now share with anyone who asks.
Why Water Rings Appear (And Why You Don’t Need to Sand)
When a wet glass sits on a wood finish, the moisture seeps into the finish’s pores, lifting the pigments and leaving a translucent halo. Most people think the only cure is to sand down the area and refinish, but that’s a drastic step that removes the original patina you fell in love with. The good news is that the discoloration is only on the surface layer, which means a gentle, targeted approach can reverse it.
What You’ll Need (All Household Items)
| Item | Reason |
|---|---|
| Soft cloth | To apply solutions without scratching |
| Iron (or hair straightener) | Gentle heat to evaporate trapped moisture |
| Clean white toothpaste (non‑gel) | Mild abrasive to lift the stain |
| Baking soda | Neutralizes moisture and restores shine |
| Olive oil or mineral oil | Re‑hydrates the wood after cleaning |
| Plastic scraper (optional) | Helps lift stubborn residue |
All of these are likely already in your kitchen drawer, so no extra trips to the hardware store.
Step‑by‑Step Rescue Plan
- Test a hidden spot – Before you start, dab a tiny amount of toothpaste on an inconspicuous corner. Wait 30 seconds; if the wood’s color stays true, you’re good to go.
- Apply a warm iron – Set your iron to the lowest heat setting, no steam. Place a clean white cotton cloth over the water ring and press the iron for 10‑15 seconds. The gentle heat encourages the trapped moisture to rise back to the surface.
- Check the progress – Lift the cloth. If the ring has faded, repeat once more. If it’s still there, move to the next step.
- Create a paste – Mix one part non‑gel toothpaste with one part baking soda. The combination offers a mild abrasive that won’t gouge the finish.
- Rub gently – Using a soft cloth, work the paste in a circular motion over the ring for about one minute. You’ll notice a faint froth; that’s the stain lifting.
- Wipe clean – Dampen a fresh cloth with warm water, remove the paste, and dry the area thoroughly.
- Restore moisture – Lightly coat the treated spot with a few drops of olive or mineral oil. Rub it in with a clean cloth until the wood looks uniform again.
- Buff to shine – Finish by polishing the entire tabletop with a dry, soft cloth. This step ensures the repaired area blends seamlessly with the rest of the surface.
Pro tip: If the ring is particularly stubborn, place a damp (not soaking) towel over the area and run the iron for an additional 5 seconds before applying the paste. The extra steam helps the moisture break free.
When to Call in the Pros
Even the best DIY tricks have limits. If the water ring has been there for months and the wood has absorbed the stain deep into the grain, the above method may only lighten, not erase, the blemish. In such cases, a professional refinisher can sand and re‑coat the surface without compromising the table’s structural integrity.
Frequently Asked Questions
Q1: Will using a hair dryer work the same as an iron? A: It can, but the iron’s flat surface delivers even heat, which is more effective for drawing moisture out. A hair dryer works best if you keep it moving to avoid overheating one spot.
Q2: Is it safe to use regular white toothpaste on dark woods like walnut? A: Absolutely, as long as you choose a non‑gel formula without whitening agents. The mild abrasive cleans without stripping the dark finish.
Q3: How often should I oil my wooden table after cleaning? A: A light oiling every 3‑4 months keeps the wood hydrated and resistant to future rings. Over‑oiling can make the surface sticky, so less is more.
A Personal Wrap‑Up
When Maya finally saw the ring disappear, she laughed and offered to buy me a coffee—this time, in a travel mug with a silicone lid. I told her that the real reward was learning that most tabletop mishaps are reversible with a little patience.
If you’re reading this with a water‑stained table of your own, take a breath. Grab that iron, a dab of toothpaste, and give the steps a try. You’ll likely save yourself the cost and time of a professional job, and you’ll gain a handy trick for future spills.
Remember, wood is forgiving when you treat it gently. Keep a small emergency kit (toothpaste, baking soda, oil) near your kitchen, and you’ll feel more confident letting your favorite mug sit where it pleases.
Happy restoring!
By the ReadyTips Team
We research, test, and write practical guides so you don't have to figure things out the hard way. Every article is reviewed by hand before publishing.