Step‑by‑Step: How I Finally Got Rid of Stubborn Glue on My Silicone Baking Mat
I still remember the first time I uncovered a freshly baked batch of cookies only to see a shiny, stubborn strip of glue creeping across my favorite silicone mat. My heart sank. That mat had survived a year of endless bake‑offs, and now it looked like a cheap craft project. I tried scrubbing with a sponge, soaking in hot water, even a gentle dishwasher cycle—nothing budged the adhesive. After a few sleepless nights and a few frantic Google searches, I finally cracked the code. Below is the exact process that saved my mat, and it works for anyone who’s ever faced this sticky nightmare.
Why Glue Sticks to Silicone?
Types of Glue You Might Encounter
Most people don’t realize that the glue you see on a silicone mat isn’t always the same. Common culprits include:
- Food‑grade silicone adhesive – used by manufacturers to seal the mat’s edges.
- Craft glue – sometimes left over from a DIY project.
- Super‑glue or cyanoacrylate – accidental spills while fixing a broken spatula. Each type has a different chemical makeup, which explains why a regular kitchen sponge often fails.
Why It’s Hard to Remove
Silicone is prized for its non‑stick surface, but that same property makes it resistant to many solvents. The material’s flexibility creates tiny micro‑pockets where glue can seep in and cure, forming a bond that feels like it’s welded to the mat. That’s why you need a method that both softens the adhesive and respects silicone’s delicate texture.
Gather Your Supplies
Before you start, assemble the following items. Having everything at hand prevents frustration and keeps the process smooth:
- Isopropyl alcohol (70% or higher) – a gentle solvent that works on most adhesives.
- White vinegar – helps break down stubborn residues.
- Baking soda – a mild abrasive that won’t scratch silicone.
- Plastic scraper or old credit card – metal can gouge the mat.
- Microfiber cloth – for wiping and drying.
- Warm water and mild dish soap – for the final rinse. If you’re missing any of these, a quick trip to the local drugstore or supermarket will sort you out.
Step‑by‑Step Removal Process
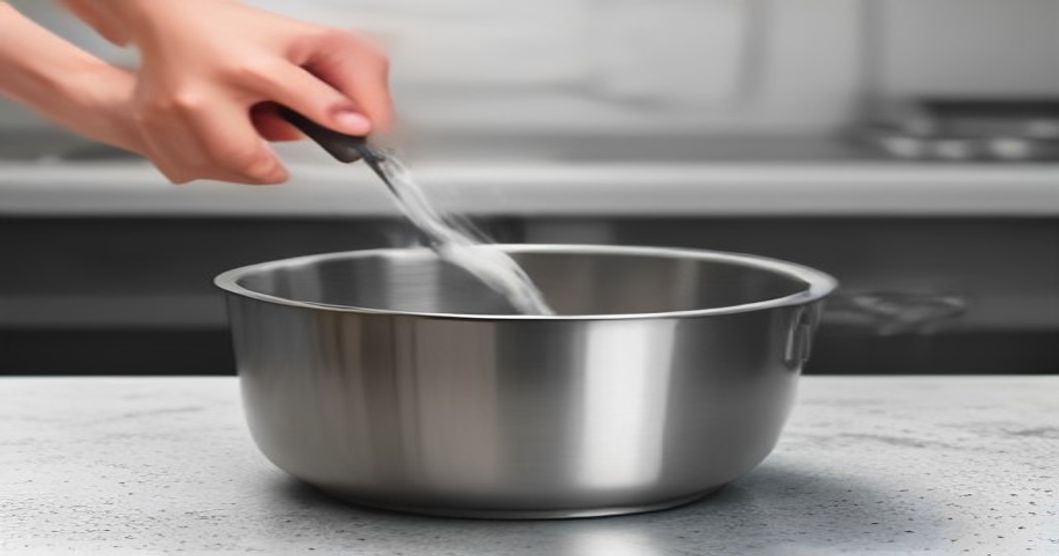
- Create a solvent bath – Fill a large bowl with warm water, add a splash of white vinegar (about 1 tablespoon per cup of water), and drop in a few ice cubes. The cold‑hot contrast helps the silicone contract and the glue expand.
- Submerge the mat – Let it sit for 10‑15 minutes. You’ll notice a faint fizz as the vinegar reacts with the adhesive.
- Apply isopropyl alcohol – Dampen a microfiber cloth with the alcohol and gently press it onto the glue spot. Let it soak for another 5 minutes. Alcohol weakens the polymer chains in most glues.
- Scrape gently – Using the plastic scraper, glide at a 30‑degree angle. If the glue lifts, continue; if it resists, re‑apply alcohol and wait a few more seconds.
- Make a baking‑soda paste – Mix 1 tablespoon of baking soda with a few drops of water until you get a thick paste. Apply it over any remaining residue.
- Rub in circular motions – The mild abrasive works like a polishing cloth, lifting the last bits without scratching.
- Rinse thoroughly – Transfer the mat to a sink, run warm water, and lather with mild dish soap. Rinse until no suds or paste remain.
- Air‑dry – Lay the mat flat on a clean towel and let it dry completely before the next bake.
Tip: If the glue is particularly tenacious (think super‑glue), repeat steps 3‑6 once more. The extra alcohol cycle usually does the trick.
Aftercare & Prevention
Now that your mat is spotless, keep it that way with these simple habits:
- Store flat – Avoid folding the mat; creases can trap adhesive particles.
- Avoid direct contact with adhesives – When using labels or stickers in the kitchen, keep them away from the mat’s surface.
- Quick‑wipe spills – If any glue or sticky substance lands on the mat, wipe it off while it’s still wet. The longer it cures, the harder it gets.
- Periodic deep‑clean – Once a month, run the mat through a warm water soak with a splash of vinegar. It maintains the mat’s elasticity and keeps any lingering residue at bay.
Frequently Asked Questions
Q: Can I use bleach instead of alcohol? A: Bleach is too harsh for silicone and can cause discoloration. Stick with isopropyl alcohol or vinegar for safe results.
Q: My mat is still slightly tacky after cleaning—what now? A: Lightly wipe the surface with a damp microfiber cloth, then sprinkle a pinch of corn starch. Rub it in, let it sit for a minute, and wipe away. The starch absorbs lingering stickiness.
Q: Is it safe to use a dishwasher after removing glue? A: Absolutely, once the glue is fully gone. Place the mat on the top rack, use a gentle cycle, and avoid high‑heat drying to preserve the silicone.
Closing Thoughts
I’ll admit, the first few attempts felt like I was battling a microscopic alien invasion. But once the glue finally dissolved, the relief was palpable—like finding the missing puzzle piece after hours of searching. If you’re reading this and your mat looks like a battlefield, take a breath. The steps above are battle‑tested, budget‑friendly, and, most importantly, doable in any average kitchen.
Feel free to drop a comment if you’ve discovered another trick that works for you. I love swapping stories, and who knows? Your tip might become the next line in this guide.
Happy baking, and may your silicone mats stay forever smooth!
By the ReadyTips Team
We research, test, and write practical guides so you don't have to figure things out the hard way. Every article is reviewed by hand before publishing.