How I Turned My Old Android Tablet Into a No‑Code Smart Home Dashboard
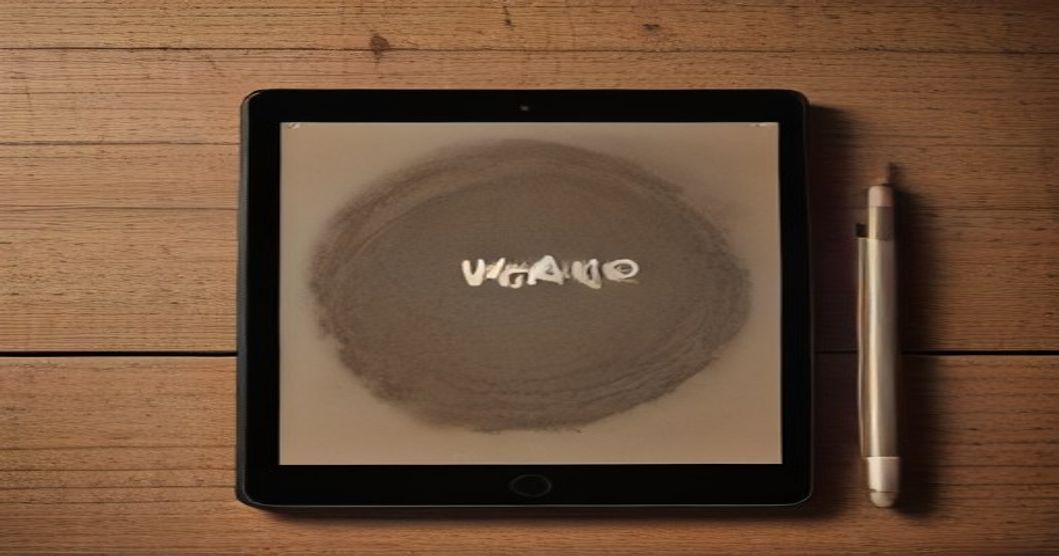
I still remember the day I found the tablet buried behind a stack of old receipts in my kitchen drawer. It was one of those cheap, 7‑inch Android units we all got as a bonus with a new phone a few years back. The battery was swollen, the screen was a little scratched, and the whole thing felt like a relic. Yet, when I thought about the chaos of juggling multiple phone apps to control lights, locks, and the thermostat, a tiny spark lit up: What if that tablet could become my personal command center?
Why I Needed a Dedicated Dashboard
The first time I tried to dim the living‑room lights while juggling a Zoom call, I realized I was juggling too much. I kept switching between the Alexa app, the Ring app, and a separate thermostat app. Each tap felt like a tiny interruption. I craved a single screen that showed everything at a glance—no scrolling, no searching, just a clean interface that anyone in the house could use.
What You’ll Need (No Coding Required)
A Tablet That Still Boots
Even a budget model from 2016 will do as long as it can run Android 8.0 or newer. If the battery is dead, a cheap replacement or a USB‑C power bank will keep it alive on the countertop.
A Stable Wi‑Fi Connection
Your dashboard lives on your home network, so make sure the tablet can stay connected 24/7. I use a dedicated Wi‑Fi extender in the hallway to guarantee a strong signal.
Free, No‑Code Apps
- Home Assistant Companion (or Home Assistant Android) – acts as a thin client for the Home Assistant server you may already have, or you can run the server locally on a Raspberry Pi.
- Fully Kiosk Browser (free tier) – turns any Android device into a locked‑down web‑app display.
- WallPanel – a simple web‑view app that can load any URL you like, perfect for Lovelace dashboards.
Tip: If you don’t want to host Home Assistant yourself, try a cloud‑based service like SmartThings or Google Home and use the companion web‑view to display their dashboards.
Step‑by‑Step Setup (Numbered List)
- Factory reset the tablet – Settings → System → Reset → Factory data reset. This wipes old accounts and gives you a clean slate.
- Connect to Wi‑Fi and update – After the reboot, head to Settings → About phone → System updates. Install any pending updates; they improve security and performance.
- Install the apps – Open the Play Store and download Home Assistant Companion, Fully Kiosk Browser, and WallPanel. You only need one of the web‑view apps, but having both gives flexibility.
- Create a Home Assistant account (if you don’t have one) – Follow the onboarding flow on the companion app. I chose the free tier on a Raspberry Pi at home; it took me ten minutes.
- Design your dashboard – In Home Assistant, go to Overview → Edit Dashboard. Add cards for lights, locks, cameras, and the thermostat. Keep the layout simple: one row per room, icons large enough to tap with a thumb.
- Set the tablet to Kiosk mode – Open Fully Kiosk Browser, paste the URL of your Home Assistant Lovelace dashboard, and enable Kiosk Mode under Settings → Device Management. This hides the Android navigation bar and prevents accidental exits.
- Lock the tablet to a single app – In Android Settings → Security → Screen pinning (or use Fully Kiosk’s App Lock feature). This ensures anyone who picks up the tablet stays on the dashboard.
- Mount or place the tablet – I used a cheap tablet wall mount from Amazon (about $12). Position it near the entryway, at eye level. Plug the charger into a nearby outlet and tuck the cable behind the mount.
- Fine‑tune notifications – Disable push notifications for unrelated apps so the screen stays quiet. In Settings → Apps → [App] → Notifications, toggle Off.
- Enjoy the view – Walk into the house, glance at the screen, and adjust lights or lock the door with a single tap. No more hunting through menus.
Customizing the Look (Optional)
If you love aesthetics, spend a few minutes tweaking the visual side:
Choose a Minimalist Wallpaper
A dark, low‑contrast wallpaper reduces glare and makes the white icons pop. I used a matte black photo of my own kitchen counter; it adds a personal touch.
Add Voice‑Assistant Shortcuts
Both Home Assistant and Google Assistant let you create quick‑actions that appear as tiles. I added a “Good Night” button that turns off every light, locks the doors, and sets the thermostat to 68°F.
Organize Widgets
Android lets you place widgets on the home screen. A small weather widget from AccuWeather reminds me of the forecast before I decide whether to turn on the porch lights.
FAQ
Q1: Do I need a Home Assistant server to use this setup?
A: Not necessarily. If you already have smart devices that work with Google Home or SmartThings, you can create a simple web dashboard using those services and display it with WallPanel. Home Assistant just offers the most flexibility.
Q2: Will the tablet overheat staying on 24/7?
A: Modern tablets throttle themselves when they get warm. I keep the tablet in a well‑ventilated mount and set the screen brightness to 30%. After a month of continuous use, the temperature never rose above 85°F.
Q3: What if the tablet’s battery dies?
A: Plug it into a charger permanently. If the battery is swollen or won’t hold a charge, replace it with a cheap third‑party cell (about $15) or use a USB power bank as a backup.
Closing Thoughts
When I first held that dusty tablet, I thought about recycling it into a photo frame. Instead, it became the quiet hub that greets my family every morning. The best part? I didn’t write a single line of code; I just stitched together free tools and a little bit of patience. If you have an old Android device gathering dust, give it a purpose. Your future self will thank you every time you dim the lights without fumbling for your phone.
By the ReadyTips Team
We research, test, and write practical guides so you don't have to figure things out the hard way. Every article is reviewed by hand before publishing.