How to Fix Squeaky Hardwood Floors Under Carpet Without Pulling It Up
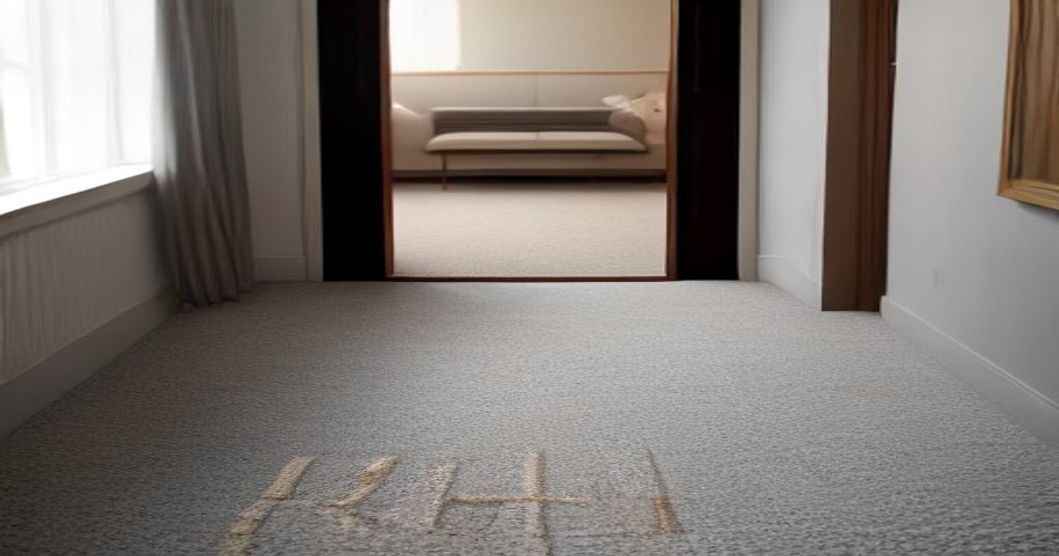
Every midnight trip to the kitchen for a glass of water used to feel like a high-stakes stealth mission in my house. Right in the middle of our upstairs hallway—precisely outside our baby's nursery door—was a floorboard that screeched louder than a rusty barn hinge. Step on it, and BAM: instant baby crying, dog barking, total chaos.
For months, I thought fixing it meant ripping up wall-to-wall carpeting, pulling out subfloors, and spending hundreds of dollars I didn't want to spend. I was wrong.
Last fall, a friendly local contractor showed me a brilliant $20 trick that silences squeaky subfloors directly through carpet padding and carpet fibers. No carpet pulling, no expensive contractor bills, and it takes about twenty minutes. If your floors are driving you crazy, here is exactly how to fix them yourself.
Why Carpeted Floors Squeak in the First Place
Before we jump into tools, it helps to understand what is actually making that noise under your feet. Carpet itself doesn't squeak, of course; the noise comes from movement in the subfloor underneath.
When your house settles over time, wood shrinks and expands with seasonal humidity changes. As wood moves, floorboards work themselves loose from the floor joists below. The annoying squeak happens when:
- Loose subfloor wood rubs against the shank of a loose nail.
- Two pieces of plywood subfloor rub against each other.
- The subfloor slides up and down on the top of a joist.
To kill the noise, you simply need to pull that subfloor tight against the floor joist so nothing can slide or rub.
The Secret Tool You Need: Breakaway Screws
You might wonder: Won't driving a screw through carpet catch the threads and create a massive pulled seam?
Normally, yes. Regular drywall screws will snag carpet loops and ruin your floor instantly. But clever hardware engineers solved this with specialized snap-off subfloor screws (kits like Squeek-No-More sell for under $20 at local hardware stores or Amazon).
These kits include custom dual-pitch screws with a scored neck and a alignment tripod fixture. The screw goes right through carpet threads, grabs the subfloor, pulls it tight against the joist, and then the screw head snaps off cleanly just below the wood surface. The carpet pile fluff hides everything completely.
Step-by-Step: Silencing the Squeak From Above
Here is how to execute this quick fix like a pro.
Step 1: Pinpoint the Exact Location
Walk around barefoot or in socks to locate the absolute center of the squeak. Shift your weight back and forth. Once you find the spot that makes the loudest groan, place a small piece of painter's tape right next to it.
Step 2: Locate the Floor Joist
You need your screw to bite into solid structural timber underneath.
- Take a thin stud finder and slide it across the carpeted area to find the wood joist running under the subfloor (joists are usually spaced 16 or 24 inches apart).
- Alternatively, drive a thin finish nail through the carpet in line with the squeak until you feel it hit dense solid wood. If it plunges into empty space, shift an inch left or right until you hit the joist framework.
Step 3: Drive the Snap-Off Screw
- Place the plastic alignment tripod guide tool over your tape mark.
- Slot the scored screw into the center alignment hole.
- Using your power drill with the kit's driver bit, push down firmly and drive the screw straight down.
- Drive it until the depth collar on the tool stops the driver head. You'll feel the subfloor pull snug against the joist.
Pro Tip: Part the carpet fibers with your fingers or a large needle down to the backing before driving the screw. This guarantees zero carpet fibers get wrapped around the screw thread.
Step 4: Snap Off the Screw Head
- Slide the gripper slot on the plastic alignment fixture over the top of the protruding screw head.
- Tilt the tool sideways. The screw head will snap off at the pre-scored line right below the subfloor surface.
- Fluff up the carpet pile with your fingers. The hole disappears completely, and the screw is recessed safely where it won't stub toes or catch socks.
Test the spot by standing on it with your full weight. Total silence!
What If You Have Access From Below?
If the squeaky floor is over an unfinished basement, garage, or crawlspace, you actually have another great option that doesn't touch the top floor at all.
Using Wood Shims and Construction Adhesive
Have a friend walk on the floor upstairs while you stand below with a flashlight. Watch the ceiling joists above you. If you see the plywood subfloor lifting off the top of a wood joist when your helper steps on it, that gap is your culprit.
- Coat a thin wooden shim in construction adhesive (like Liquid Nails).
- Gently tap the shim into the gap between the joist and subfloor. Don't force it in too hard, or you'll push the floor up!
- The shim fills the air pocket, and the glue permanently secures the wood.
Installing Metal Joist Braces
If a wide section of subfloor is flexing, pick up an adjustable metal subfloor bracket (like Squeak-Relief). You screw one end to the joist and the other end directly into the underside of the subfloor, turning the built-in screw mechanism to pull both pieces tight together.
Frequently Asked Questions
Will this damage Berber or loop-pile carpets?
Loop carpets like Berber carry a higher risk of pulling threads than cut-pile carpets. If you have loop carpet, take extra time to part the carpet loops right down to the backing canvas using an awl or screwdriver before driving the screw, and drive the screw very slowly.
Can I just use regular wood screws instead of a kit?
I wouldn't recommend it from above. Regular screw heads won't snap off neatly below the subfloor. They will sit flush with or slightly above the wood, creating a sharp metal bump under your carpet that will wear out the carpet backing and hurt bare feet.
What if my floor still squeaks after driving a screw?
Squeaks can sometimes stretch along a 2-foot section of loose subfloor. If one screw reduces the noise but doesn't eliminate it entirely, drive a second snap-off screw into the same joist roughly 6 inches away from the first.
Final Thoughts
Home maintenance projects often feel overwhelming, but you don't always need to rip things apart to fix what's broken. This simple weekend fix saved my sleep, preserved our carpets, and cost less than a lunch out.
Give this quick method a try this weekend. Your feet—and anyone sleeping in your house—will thank you!
By the ReadyTips Team
We research, test, and write practical guides so you don't have to figure things out the hard way. Every article is reviewed by hand before publishing.