How to Safely Remove Melted Plastic from Your Oven Rack
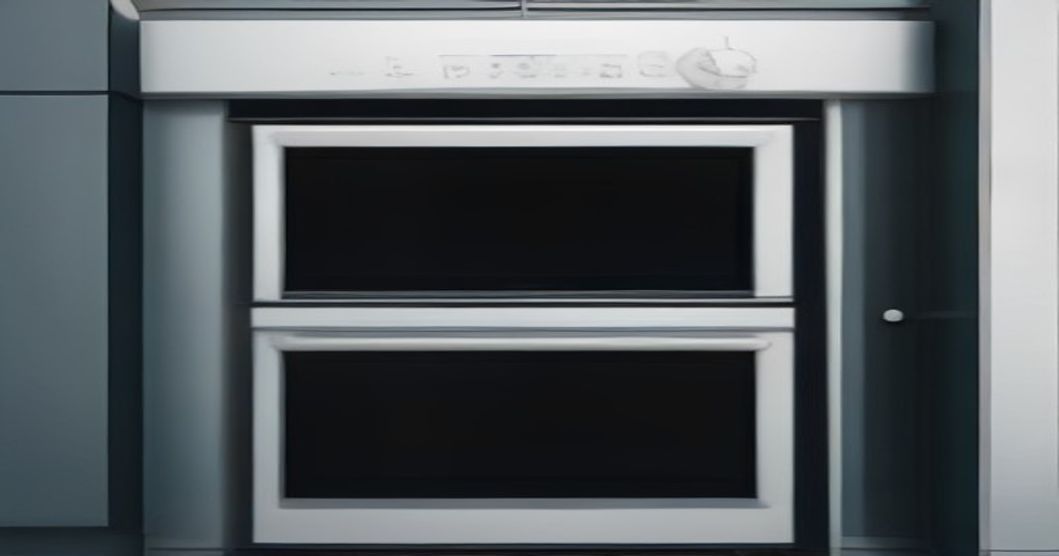
I was halfway through a Sunday dinner prep when I heard that unmistakable crackle coming from the oven. I opened the door to find a glossy, melted mess clinging to the rack like a stubborn sticker. My first instinct was to grab a metal scraper, but the thought of breathing in plastic fumes made me pause. After a few frantic Googles and a call to my neighbor who swears by her "no‑scrape" routine, I finally figured out a method that works without toxic smoke or ruined metal. Below is exactly what saved my oven—and my sanity.
Why Plastic Ends Up on Oven Racks
Accidental spills
A forgotten bag of plastic wrap or a stray microwaveable container can melt the moment the oven hits 400°F. The heat liquefies the polymer, and it drips onto the rack below.
Cooking mishaps
Sometimes a dish with a plastic lid or a silicone handle overheats. The material softens, collapses, and leaves a thin, glossy film.
What not to do
Before we get to the rescue plan, a quick warning: Never use a metal scouring pad or aggressive scraper while the oven is still hot. The heat can cause the plastic to vaporize, releasing potentially harmful fumes. Also, avoid bleach or harsh chemicals; they can react with the plastic residue and create a messier problem.
The Safe, No‑Scrape Method
Below is a step‑by‑step routine that relies on everyday kitchen items and keeps the air in your kitchen breathable.
- Cool the oven completely – Wait at least an hour after the oven shuts off. A warm rack is a sticky rack.
- Create a steam chamber – Fill a large, oven‑safe dish (like a Pyrex casserole) with 2 cups of water, then place it on the middle rack. Turn the oven on to 250°F for 15 minutes. The gentle steam softens the plastic without heating it to the point of vaporization.
- Remove the rack – Carefully pull the rack out using oven mitts. It should feel slightly damp and the plastic should be pliable, not brittle.
- Apply a baking‑soda paste – Mix 1 tablespoon of baking soda with enough water to form a thick paste. Spread it over the melted area. Baking soda acts as a mild abrasive and neutralizer.
- Let it sit – Allow the paste to work for 10‑12 minutes. You’ll notice the plastic beginning to lift.
- Wipe with a non‑abrasive sponge – Use a soft kitchen sponge (the kind you use for dishes) and gently rub the area. The plastic should come away in ribbons.
- Rinse and dry – Rinse the rack with warm water, dry it thoroughly, and slide it back into the oven.
Why this works
The low‑temperature steam loosens the polymer’s grip without reaching its combustion point. Baking soda adds just enough friction to lift the residue without scratching the metal.
Tip: If the plastic is particularly stubborn, repeat steps 4‑6. The second round usually does the trick.
Bonus Hacks for Future Prevention
- Line your racks with reusable aluminum foil sheets. They catch drips and are easy to discard.
- Set a timer whenever you bake something with a plastic component. A 5‑minute reminder can prevent accidental melt‑downs.
- Keep a spray bottle of vinegar handy. A light mist after each cleaning session helps dissolve any lingering polymer traces.
Frequently Asked Questions
Q: Can I use a hair dryer to melt the plastic away? A: It’s tempting, but the hot air can still release fumes. Stick with the steam method for a safer approach.
Q: Is it okay to use a dishwasher to clean the rack after the plastic is removed? A: Absolutely. Once the residue is gone, a normal dishwasher cycle will finish the job. Just make sure the rack is fully dry before placing it back.
Q: What if the plastic has baked onto the rack for weeks? A: The same steam‑and‑baking‑soda combo works, but you may need to increase the steam time to 20‑25 minutes and repeat the paste step a couple of times.
A Warm Goodbye
I still remember the relief of seeing that glossy film lift off like a ribbon being pulled from a present. It felt like I’d discovered a secret kitchen super‑power. If you ever face the same sticky situation, give this method a try—you’ll save time, avoid nasty smells, and keep your oven looking like new. And hey, if you tweak the recipe and find an even better hack, drop me a comment. I love hearing how fellow home cooks outsmart their appliances!
By the ReadyTips Team
We research, test, and write practical guides so you don't have to figure things out the hard way. Every article is reviewed by hand before publishing.