How to Unclog a Slow‑Draining Bathroom Sink Pop‑Up Stopper Without Chemical Drain Cleaners
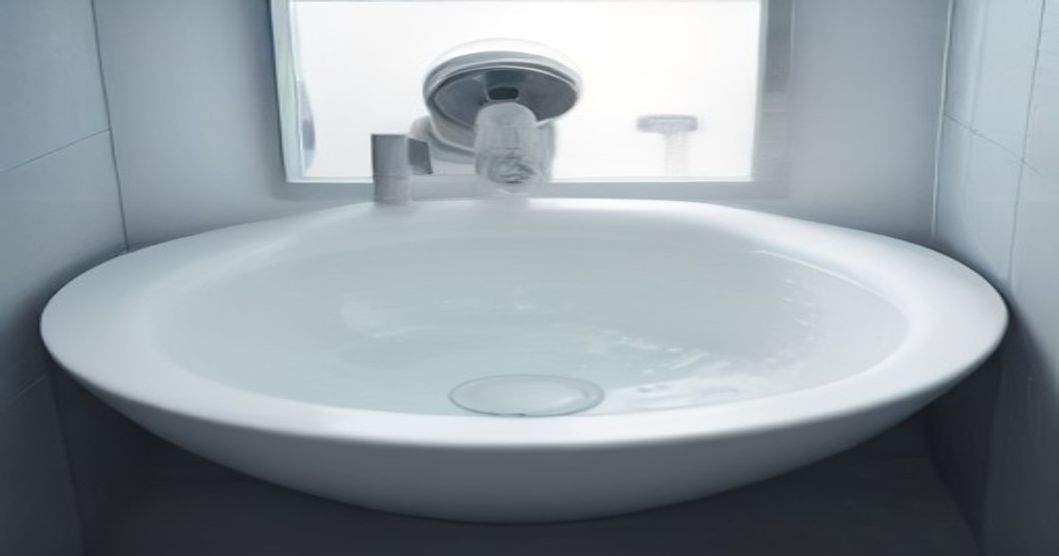
I still remember the exact moment my sink decided to act up. It was a rainy Tuesday, I was half‑asleep, coffee in hand, and the water barely swirled away when I tried to rinse my toothbrush. I stared at the stubborn pool and thought, "Great, another thing to fix before work." The good news? I solved it without ever opening a cabinet of harsh chemicals, and you can too.
Why a Slow‑Draining Pop‑Up Feels Like a Mini Crisis
The hidden culprits behind the clog
Most people assume the drain is blocked by hair alone, but a pop‑up stopper adds a layer of complexity. Over time, tiny bits of soap scum, toothpaste, and even mineral deposits settle around the lift rod and the basket that sits under the stopper. Those microscopic invaders create a semi‑solid mat that slows the water’s escape. It’s not always a hairball; it’s often a cocktail of everyday bathroom debris.
Tools You’ll Need (No Chemicals Required!)
- A flat‑head screwdriver (or a small Phillips, depending on your faucet)
- Needle‑nose pliers
- A bucket or large bowl
- Old toothbrush or small scrub brush
- A rag or paper towels
- Optional: a plumbing snake or a flexible zip‑it tool
You probably already own most of these items. If you’re missing one, a local hardware store will have a cheap set that lasts for years.
Step‑by‑Step: Unclog the Pop‑Up Without a Bottle of Drain Cleaner
- Clear the area and protect the floor – Place the bucket under the sink to catch any stray water. A quick wipe with a rag will keep the bathroom floor from becoming a slip‑n‑slide.
- Remove the stopper – Most pop‑up stoppers have a set screw on the knob. Use the screwdriver to loosen it just enough to lift the stopper out. If your model slides out, simply pull it upward. Don’t force it; you’ll hear a subtle click when it’s free.
- Inspect the basket – Once the stopper is out, you’ll see a rubber or plastic “basket” that sits in the drain. Pull it gently with needle‑nose pliers. If it’s stuck, wiggle it side‑to‑side. This is where the bulk of the buildup lives.
- Scrub away the gunk – Take the old toothbrush and scrub the basket, the underside of the stopper, and the interior of the drain pipe. Warm, soapy water works wonders. For stubborn mineral spots, a little white vinegar on the brush will dissolve them without the harshness of commercial cleaners.
- Flush the pipe – With the bucket still in place, run hot tap water for about 30 seconds. The flow should be noticeably faster. If water still pools, use the flexible zip‑it or a short plumbing snake to reach deeper into the pipe. Feed it gently, rotate, and pull back a few times.
- Reassemble and test – Slip the basket back in, replace the stopper, and tighten the set screw. Turn the faucet on and watch the water disappear. If it’s still sluggish, repeat the rinse step; sometimes a second pass clears the remaining residue.
Pro tip: After you’ve finished, pour a cup of boiling water down the drain once a month. It keeps soap scum from hardening and extends the life of your chemical‑free routine.
FAQ
Q: My stopper still won’t lift after cleaning. What now? A: The lift rod may have become corroded or the linkage could be misaligned. Check the rod under the sink for any bends or rust. A small drop of penetrating oil on the joint can restore smooth movement.
Q: Is it safe to use vinegar on all types of pop‑up stoppers? A: Absolutely, as long as you rinse thoroughly afterward. Vinegar is acidic enough to dissolve mineral build‑up but gentle on rubber and plastic components.
Q: How often should I perform this maintenance? A: I aim for a quick check every three months. If you have hard water, a bi‑monthly schedule saves you from nasty clogs.
Closing Thoughts
I’m still amazed how a simple, chemical‑free routine can rescue a sink that once felt like a ticking time bomb. The next time you hear that slow‑drain sigh, remember you have the tools and the know‑how to fix it without a toxic bottle looming on the shelf. Give it a try, and feel that small sense of victory when the water finally disappears. If you run into a snag, drop me a comment—there’s always a workaround, and I love swapping stories about home‑grown fixes.
By the ReadyTips Team
We research, test, and write practical guides so you don't have to figure things out the hard way. Every article is reviewed by hand before publishing.